Project survey
In this section:
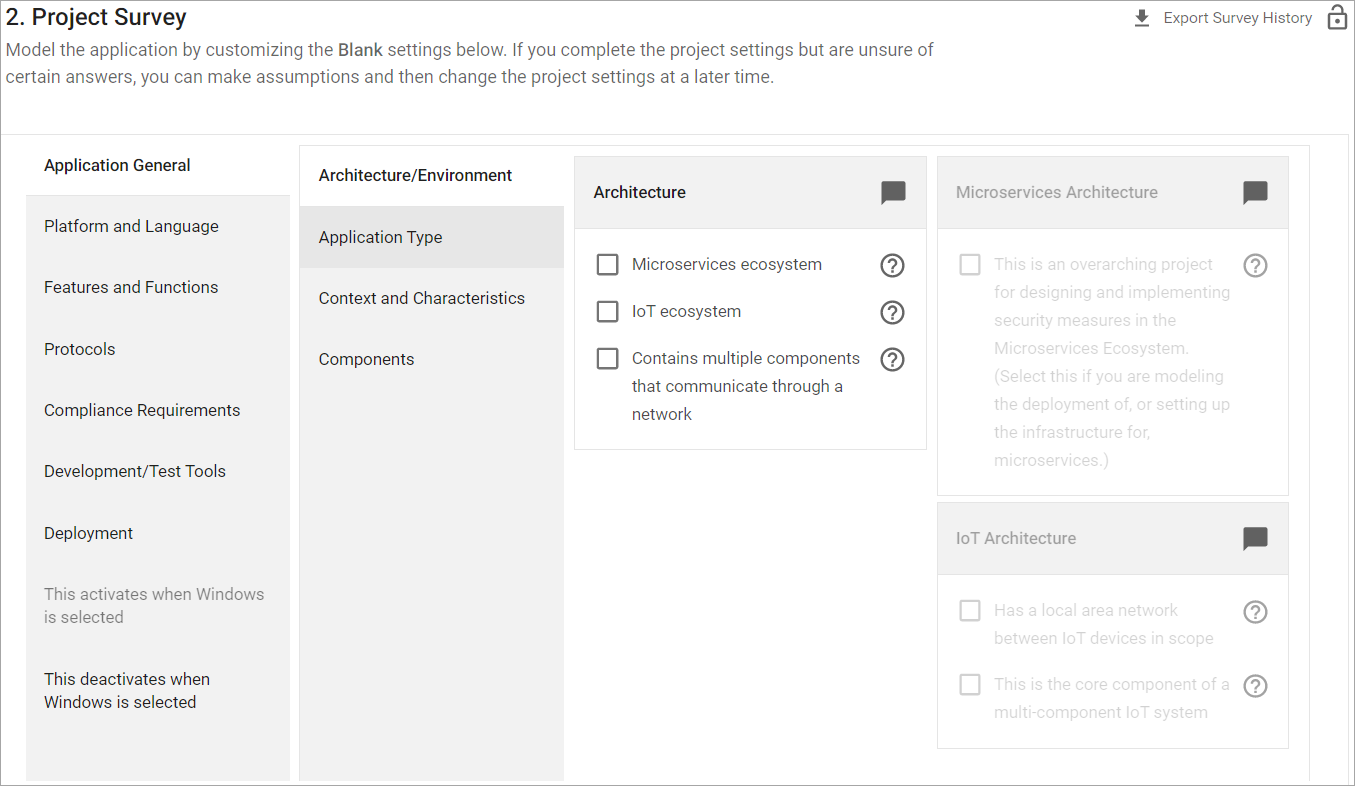
A project survey is the set of single or multiple choice questions teams answer to describe a project’s risk profile or business context. The questions, how they are structured, and the way answers relate to each other can be managed by content administrators. The answers to a survey are the project settings.
Certain tasks and how-to’s become relevant to a project based on its settings. When a project is created, a list of tasks are included based on the profile and its initial survey answers.
Project settings can be edited multiple times. If a team is unsure about certain answers, they can return to change the project settings at a later time. Once the settings are finalized, a project lead can lock the survey so that no further changes can be made.
Default project survey
SD Elements provides the following categories for project settings by default.
|
Tip
|
Your administrators may have defined additional custom categories and subcategories unique to your environment. |
-
Application General: High-level settings about the application, such as the type of application and its protocols.
-
Language and Platform: Technology-specific settings about the application, such as the programming language and third party libraries used.
-
Features and Functions: Security and other related features, such as whether or not the application allows users to upload files.
-
Compliance Requirements: Requirements from specific regulatory bodies, such as the Payment Card Industry (PCI).
-
Development/Test Tools: A list of tools that may be used during development or testing. These settings help SD Elements determine which technology-specific How-To’s it can provide. For example, some How-To’s require the use of Open Web Application Security Project (OWASP) tools: these How-To’s will only appear if you are allowed to use OWASP tools.
-
Changes Since Last Release: Settings that determine what the changes were since the last release. Only use this section if you wish to model the changes between releases rather than the entire application. This section does not appear by default. It will only appear if you create a new release of a project.
Update project survey
To update a project survey, follow the steps below.
Prerequisites:
-
The user has the permission Project role→Project Management→Edit project survey.
Steps:
-
Open the project tasks for the project.
-
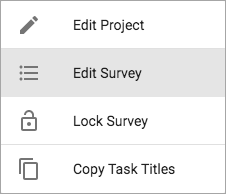
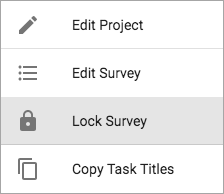
On the top-right of the project tasks list, click the [more vert] icon.
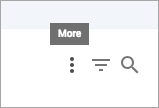
-
Select edit survey from the dropdown menu.
-
Update the survey answers.
-
Click Save and Close
The answers to the project survey are updated. The task list is updated according to the new answers. Any pending task list changes prior to the survey update are applied to the project as well.
Project survey history
To view the most recent answer activity for a project survey question, follow the steps below.
Prerequisites:
-
The user has either of the following permissions:
-
Project role→Project Management→Edit project survey.
-
Project role→Project Management→View project survey.
-
Steps:
-
Navigate to a project survey question that has previously been answered.
-
Below the title of the question is a link labeled "View Latest History".

-
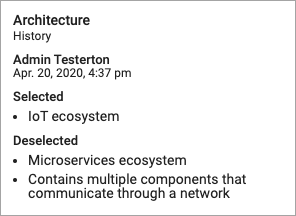
Clicking this link opens a window containing information about the most recent answer activity for that question.
-
These details include:
-
The title of the question whose history you are viewing.
-
The name of the last user to provide an answer for this question.
-
If that user has selected an answer, you will see which answers they have selected under the heading "Selected".
-
If that user has deselected an answer, you will see which answers they have deselected under the heading "Deselected".
TipView Latest History is a quick way for you to find out when this question was last answered and by whom. This information only contains history from the single user who has most recently answered the question.
-
-
-
To close the View Latest History, either click the link again or click anywhere on the page outside of the popover.
The history shown in the popover is reloaded either when you click save, reload the page, or navigate away and back to the survey.
Export Project Survey History
Project Survey history changes can be exported as a CSV file for each survey question.
Prerequisites:
-
The user has either of the following permissions:
-
Project role→Project Management→Edit project survey.
-
Project role→Project Management→View project survey.
-
Steps:
-
Navigate to the project survey from the Project View.
-
Click on Export Survey History in the upper rigt-hand corner.

The CSV file of survey change history is immediately dowloaded.
Lock project survey
To lock a project survey so that no further changes can be made, follow the steps below.
Prerequisites:
-
The user has the permission Project role→Project Management→Lock project survey.
Steps:
-
Open the project tasks for the project.
-
On the top-right of the project tasks list, click the [more vert] icon.
-
Select lock survey from the dropdown menu.
No further changes can be made to the project settings without unlocking the survey. Changes to the project task list may still be made through Project content updates.
Unlock project survey
To unlock a project survey so that changes can be made, follow the steps below.
Prerequisites:
-
The user has the permission Project role→Project Management→Lock project survey.
Steps:
-
Open the project tasks for the project.
-
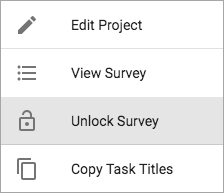
On the top-right of the project tasks list, click the [more vert] icon.
-
Select unlock survey from the dropdown menu.
Changes can now be made to the project survey.
Hidden phases
Completing the project survey determines the phases of the software development lifecycle (SDLC) that are visible or hidden in your project, and the number of tasks associated with those phases. The number of tasks appears next to the phase, and as long as there is one task available for that phase (as determined by the project survey), that phase will be visible. Phases with zero tasks (as determined by the project survey) are hidden.
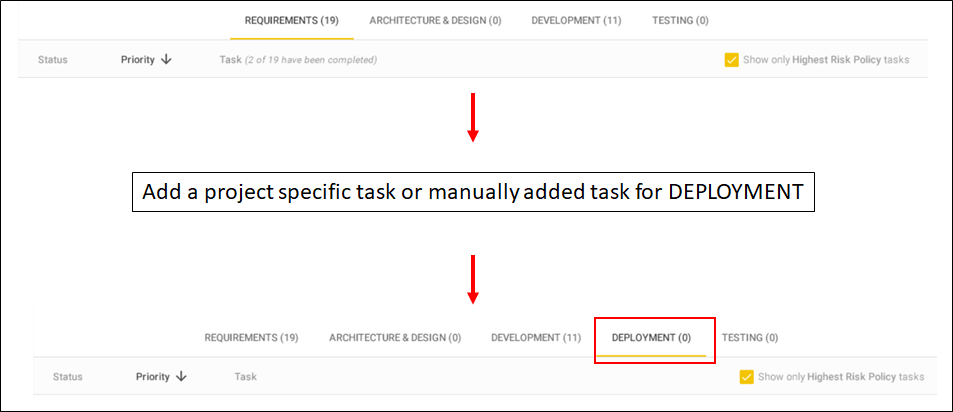
In the project below, the phases ARCHITECTURE & DESIGN and TESTING have zero tasks, but they remain visible. However, DEPLOYMENT is hidden. Completion of the project survey determines the tasks that are allocated into specific phases. If the survey allocates at least one task into a phase, then that phase will be visible. A phase may indicate that zero tasks are available based on checking the risk policy box, searching, or filtering.

If you add a project specific task or a manually added library task to your project, the default phases determined by the project survey will change accordingly by making a previously hidden phase visible.
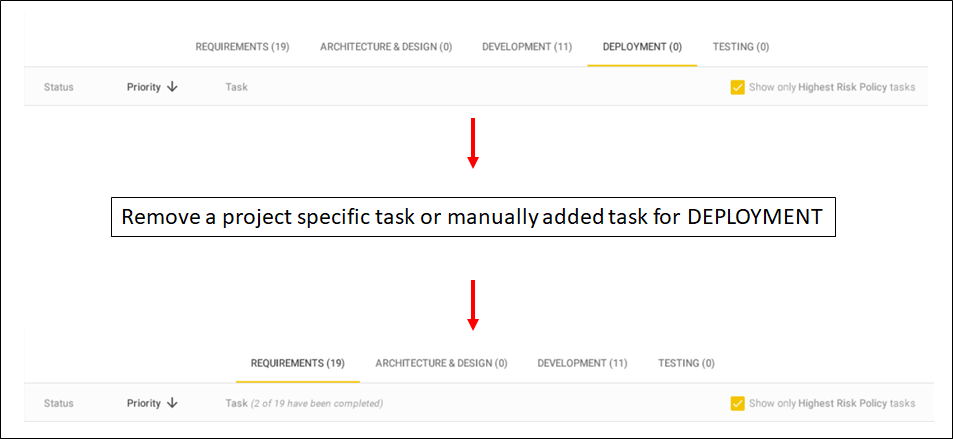
At the same time, if you remove a task from a phase to bring the task count to zero, that phase will become hidden.
The Task Completion widget also becomes visible or hidden based on the number of tasks in a phase. Generally, whenever tasks are included in a project, the widget is displayed on the project overview page. However, when the project survey is incomplete, empty, or there are no tasks for the project (as determined by a risk policy, for instance), the Task Completion widget is hidden from the project overview. Note that the widget will display a phase regardless of the status of tasks within it, but the number of tasks will only include tasks with a status of 'Complete' and 'Incomplete', and not 'NA'.
Project survey comments
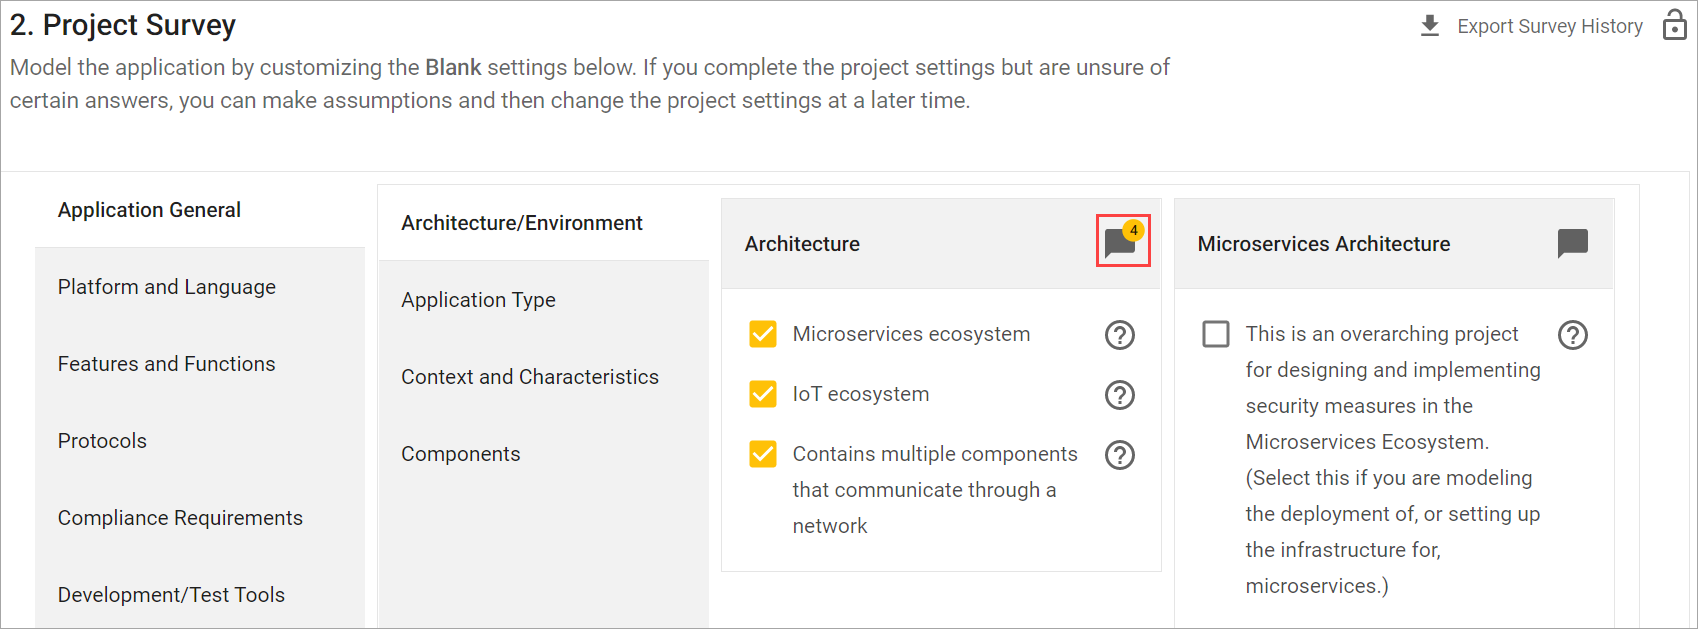
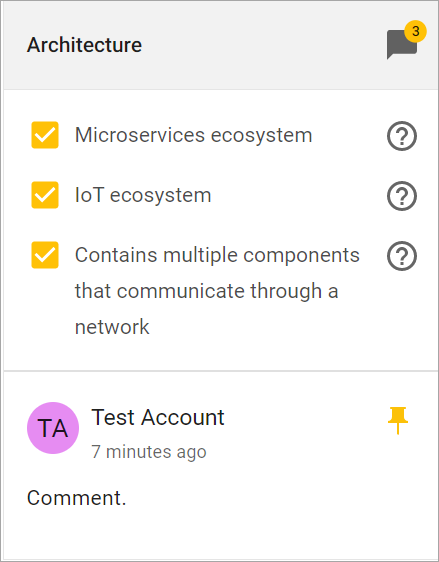
Add comments to the project survey as you answer or review it. Use comments to communicate with other members of your team or simply justify why you selected a specific answer. You can add multiple comments for each question and pin one to the survey so that it appears below the question.
Project survey comment details
-
Comment icon: Opens up a list of all comments.
-
Comment icon badge: Displays the number of comments associated with that question when at least one comment exists.
-
Pinned comment: Pin and unpin comments that appear below the question’s answers.
View comments
Prerequisites:
-
User is a member of the project’s Business Unit.
-
User has the permission Project role→Project Management→View project.
Steps:
-
Navigate to the Survey tab of your project.
-
Click on the comment icon for a question.
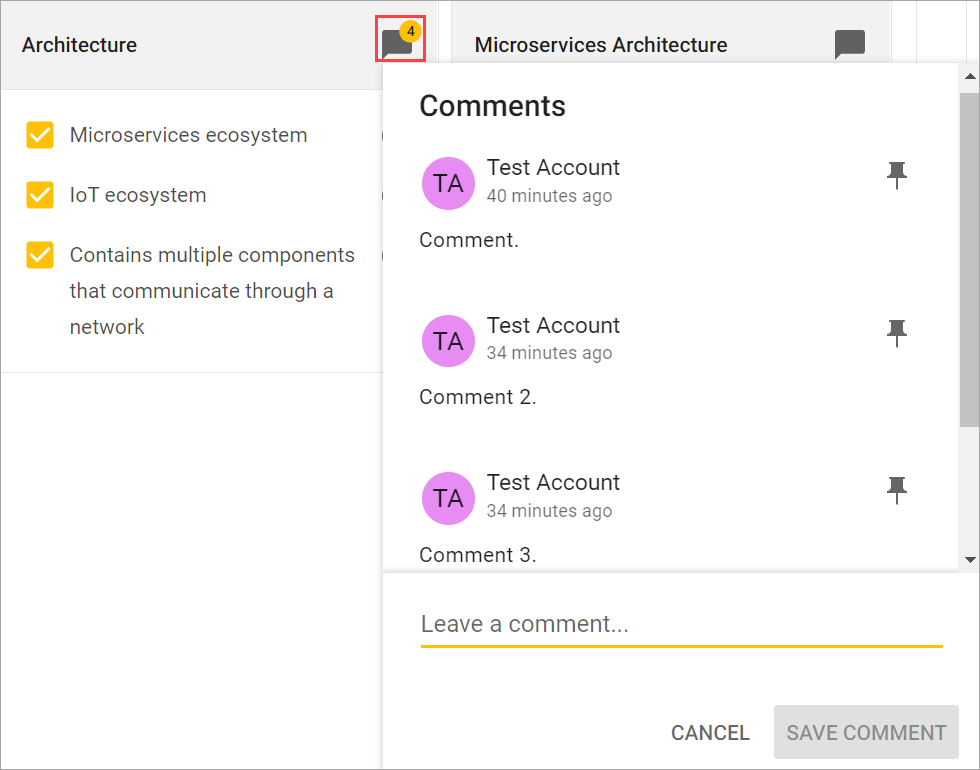
All comments for that question are displayed in chronological order from oldest to newest.
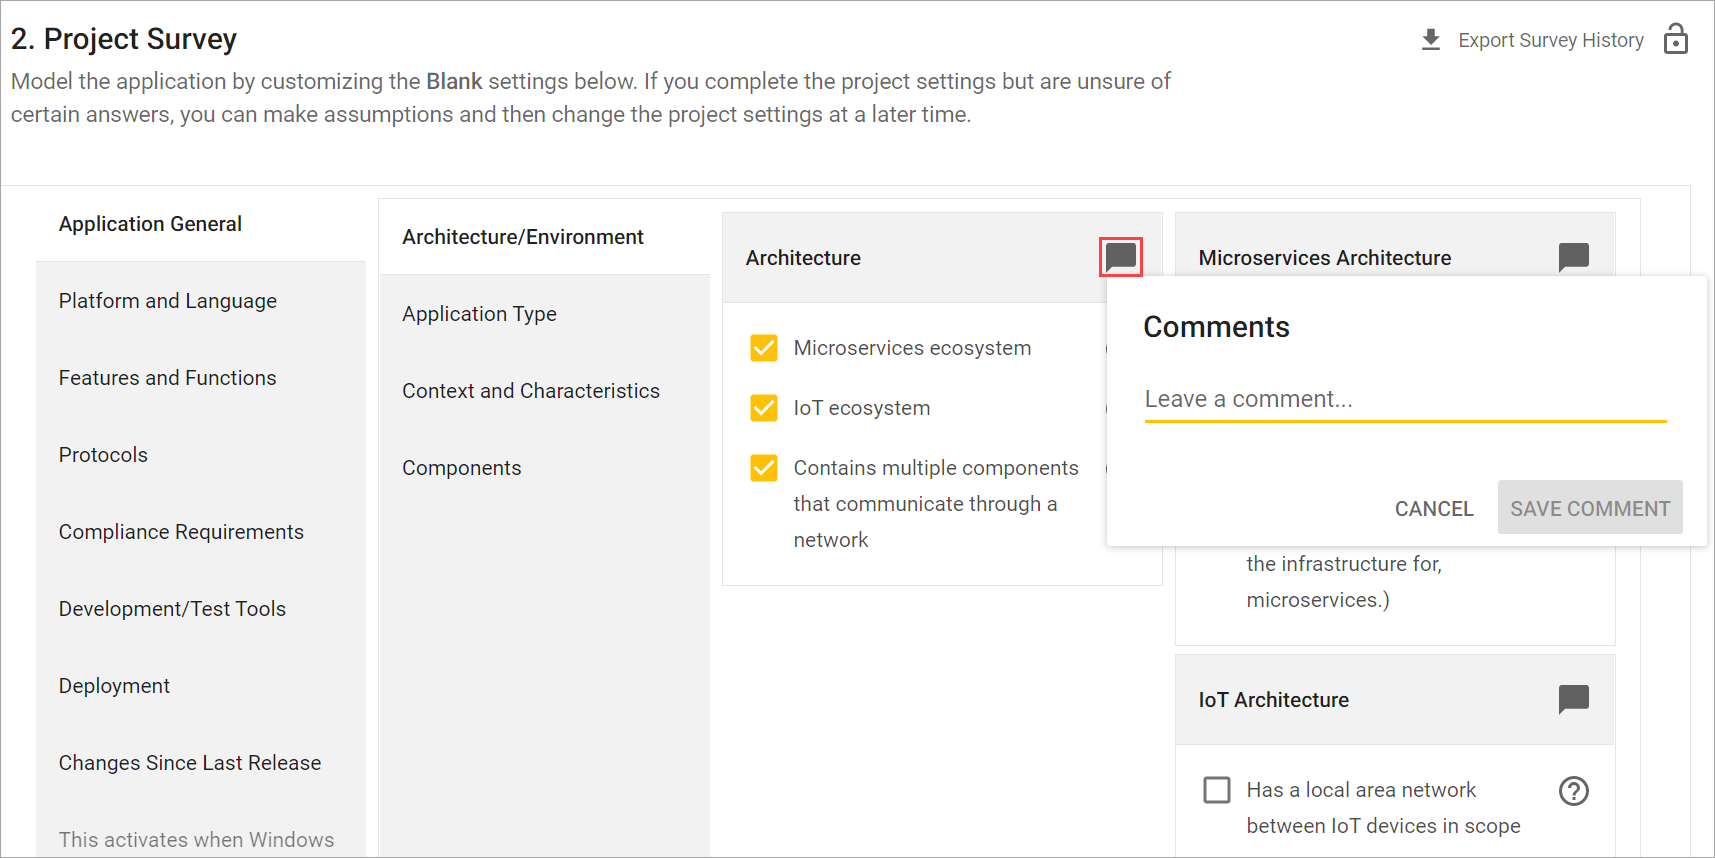
Create a comment
Prerequisites:
-
User is a member of the project’s Business Unit.
-
User has the following permissions:
-
Project role→Project Management→Edit project survey
-
Project role→Project Management→View project OR Global role→Project Management→View project
-
Steps:
-
Navigate to the Survey tab of your project.
-
Click on the comment icon for a question.
-
Enter your comment.
-
Click Save Comment to save the comment.
-
Click Cancel to discard changes and close the popover.
-
Your comment is saved and can now be viewed by other members of the project.
INFO: Markdown is not currently supported for survey comments.
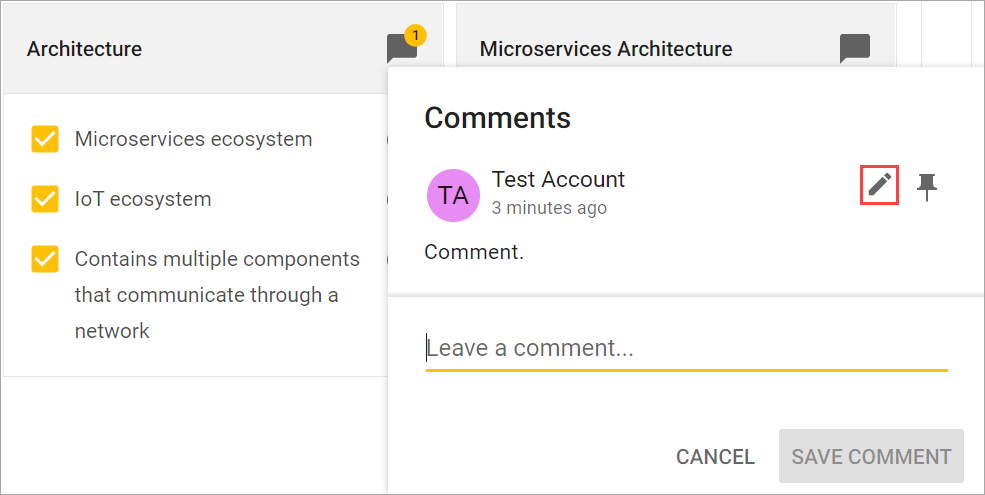
Edit a comment
Edit a comment that has not yet become locked. Comments are locked when the project survey is saved or locked.
Prerequisites:
-
User is a member of the project’s Business Unit.
-
The comment is not locked.
-
User has the following permissions:
-
Project role→Project Management→Edit project survey
-
Project role→Project Management→View project OR Global role→Project Management→View project
-
Steps:
-
Navigate to the Survey tab of your project.
-
Click on the comment icon for a question.
-
Click on the edit icon next to the comment and enter the desired changes.
-
Click Save Comment to save the changes.
-
Click Cancel to discard changes and close the popover.
-
Changes to your comment are saved.
|
Warning
|
You cannot edit comments once you lock or save a project survey. |
Pin a comment
Prerequisites:
-
User is a member of the project’s Business Unit.
-
User has the following permissions:
-
Project role→Project Management→Edit project survey
-
Project role→Project Management→View project OR Global role→Project Management→View project
-
Steps:
-
Navigate to the Survey tab of your project.
-
Click on the comment icon for a question.
-
Click on the pin icon next to the comment.

The pinned comment appears below the question’s answers.
Click on the yellow pin icon to unpin the comment.
INFO: Only one comment can be pinned for each question. Pinning another comment will unpin the existing pinned comment.
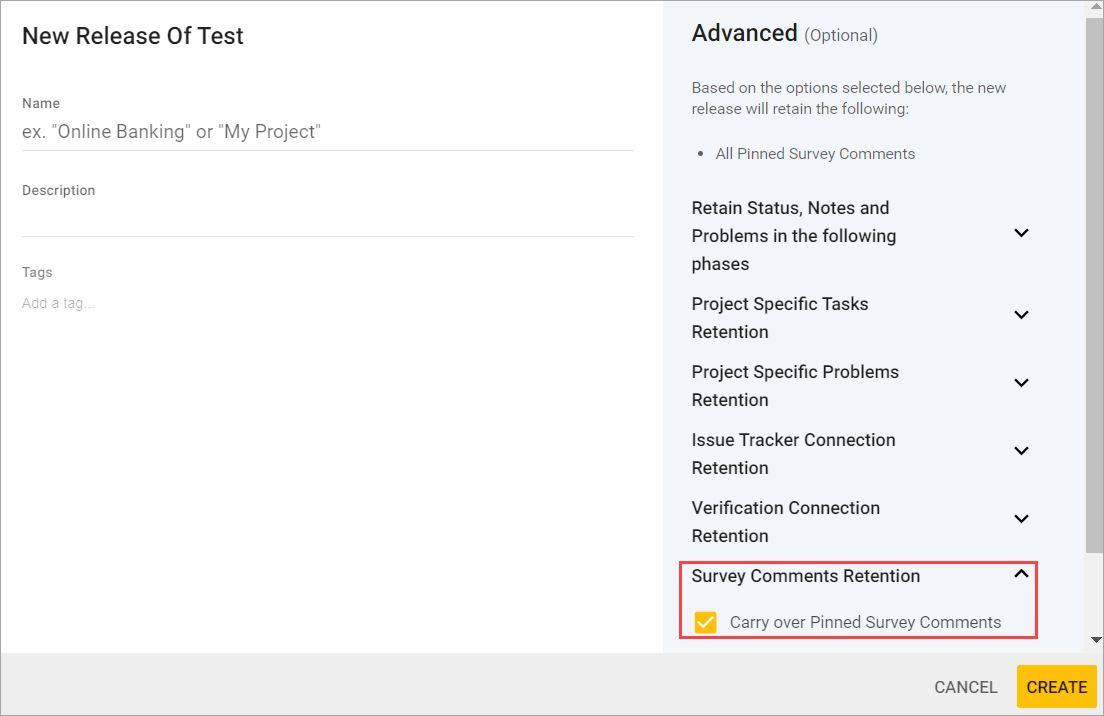
Retain comments for new releases
Carry over pinned survey comments when creating a new release.
Steps:
-
Navigate to the Overview tab of your project.
-
Select More options, and click on New Release.
-
Click on Survey Comments Retention.
-
Check Carry over Pinned Survey Comments.
-
Click on Create to create the new release.
Pinned survey comments can now be viewed on the project survey of your new release.