Custom Countermeasure mapping
Customize the Countermeasure mapping used by Verification tools. The Countermeasure mapping can be customized for the Verification tools with Remote Connection.
-
Remote Connection: Download scan results using web services.
Add/Edit a custom Countermeasure mapping file
Add or update a custom Countermeasure mapping file by following the steps below.
-
The user has the permission Global Roles→Integration→Edit verification connections.
-
A CSV file containing custom Countermeasure mapping information that is less than 10 MB.
-
A custom Countermeasure mapping file in CSV format requires the following fields to exist in order: Countermeasure ID (format: TXXX or CTXXX, e.g. T121, CT20, etc.), Countermeasure Title, Weakness ID, Weakness Title, Confidence.
-
Countermeasure ID in this context is equivalent to the Countermeasure ID.
-
Countermeasure Title in this context is equivalent to the Countermeasure Title.
-
Users may find it helpful to refer to the default Countermeasure mapping to check for file format.
-
-
A global-level system Verification connector with which the user wants to apply custom Countermeasure mapping.
-
From the gear icon menu, select Integration.
-
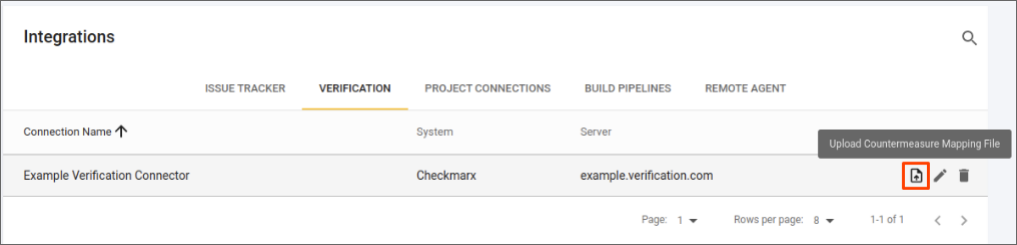
Select the Verification tab.
-
Click the Upload Countermeasure Mapping File file upload icon on an existing system Verification connector.
-
A dialog will appear.
-
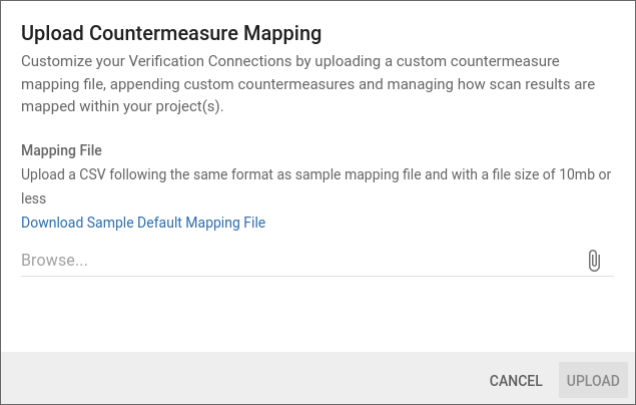
Click the file attachment icon on the Upload form.
-
Select the custom Countermeasure mapping CSV file.
-
Click the Upload button.
Delete a custom Countermeasure mapping file
Delete a custom Countermeasure mapping file by following the steps below.
-
The user has the permission Global Roles→Integration→Edit verification connections.
-
A global-level system Verification connector with which the user has uploaded a custom Countermeasure mapping.
-
From the gear icon menu, select Integration.
-
Search for the connection from which you wish to delete its custom Countermeasure mapping.
-
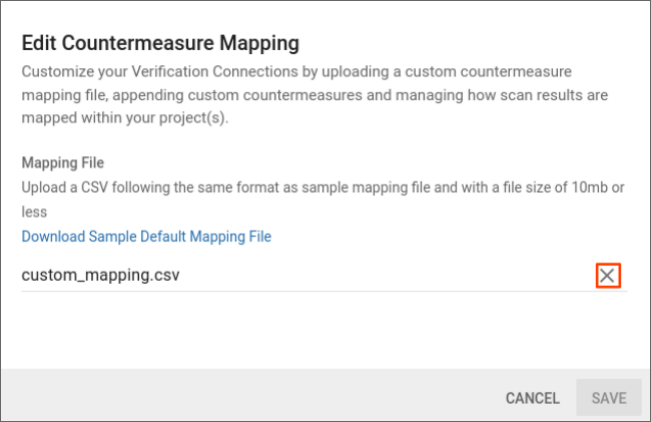
Hover your mouse over the row on the far right and select the Edit Countermeasure Mapping File file edit icon. A dialog will appear.
-
Select the close icon next to the filename field on the Edit form.
-
Click the Save button.
Download the default Countermeasure mapping file
Download the default Countermeasure mapping file by following the steps below.
-
The user has the permission Global Roles→Integration→Edit verification connections.
-
A global-level system Verification connector of which the user wants to download the default Countermeasure mapping.
-
From the gear icon menu, select Integration.
-
Search for the connection from which you wish to download its default Countermeasure mapping.
-
Hover your mouse over the row on the far right and select the Upload Custom Countermeasure Mapping file upload icon. A dialog will appear.
-
Click the "Download Sample Default Mapping File" link.
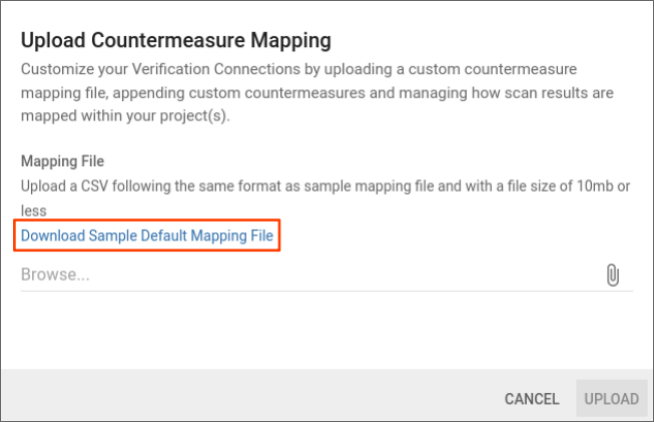
The default Countermeasure mapping file will be downloaded to the user’s web browser.