Installation and administration
In this section:
Requirements
User permissions
The Remote Integration Agent connects to SD Elements using an API token. You can generate the token from a user who has a role with the following permissions:
-
ALM sync:
-
Manage > Global Roles > Integration > Edit ALM connections (enable)
-
-
Scanner import:
-
Manage > Global Roles > Integration > Edit verification connections (enable)
-
Manage > Project Roles > Integration > Sync with ALM tools (enable for each project requiring integrations)
-
Manage > Project Roles > Integration > Verify tasks (enable for each project requiring integrations)
-
-
LDAP Sync:
-
Access the SD Elements server as a user with superuser privileges.
-
Technical requirements
-
Network connectivity to port 443 (HTTPS) on the SD Elements server.
-
Network connectivity to port 443 (HTTPS) on the integration servers.
-
CentOS7/RHEL7 Linux, or Windows (Desktop/Server).
-
If using CentOS6/RHEL6, you may have to configure EPEL and IUS as additional repositories.
-
Configure a Remote Agent in SD Elements
Adding a Remote Integration Agent involves adding it to SD Elements, and installing the agent software.
Create a Remote Agent entry in SD Elements
Steps:
-
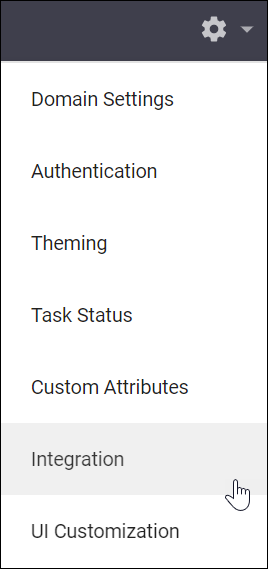
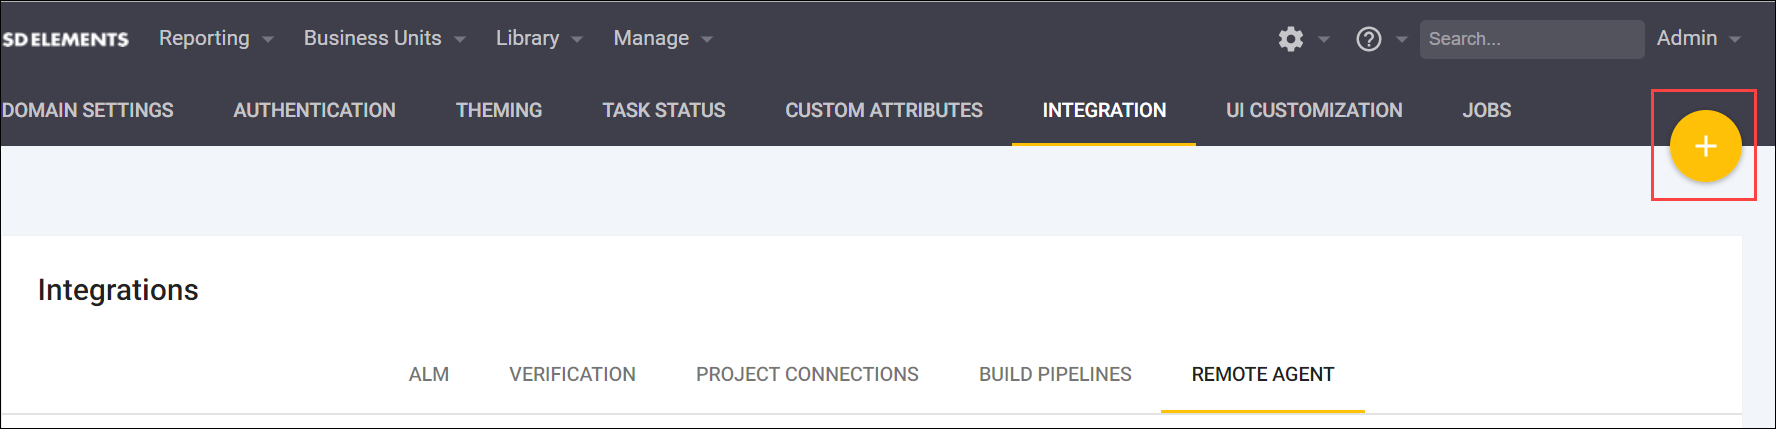
From the gear icon settings menu, select Integration, then select the Remote Agents tab.
-
To add a new Remote Agent, click the plus add_circle button for a New Remote Agent.
-
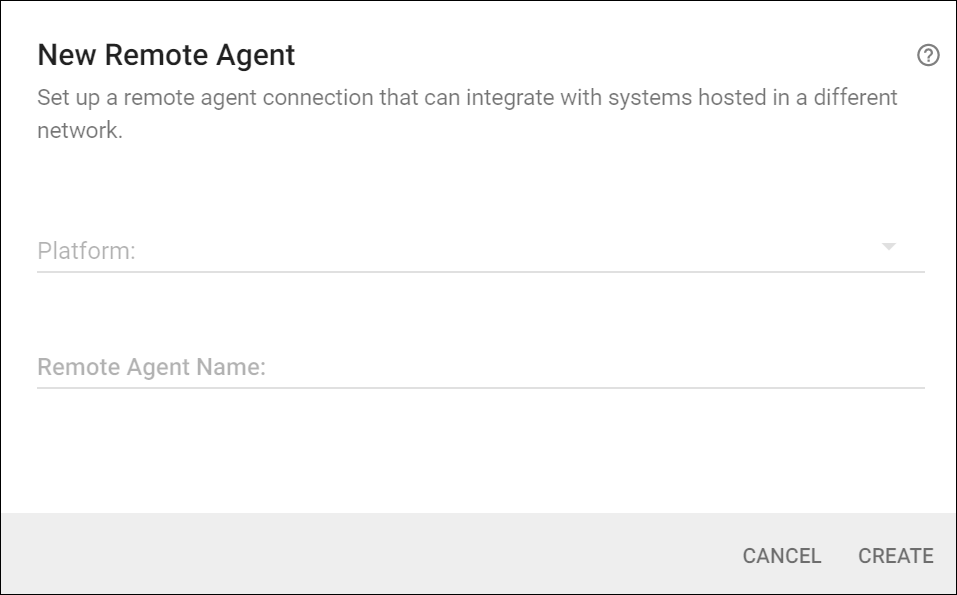
Select the platform for the Remote Integration Agent.
-
The platform will be updated by the Remote Integration Agent when it runs.
-
Choose the correct platform now to get the download link for the correct installer. Only the Windows installer is available for download directly from this screen.
-
-
Enter a name for this Remote Agent. The name provides a descriptive label for the user and is not used during synchronizations.
-
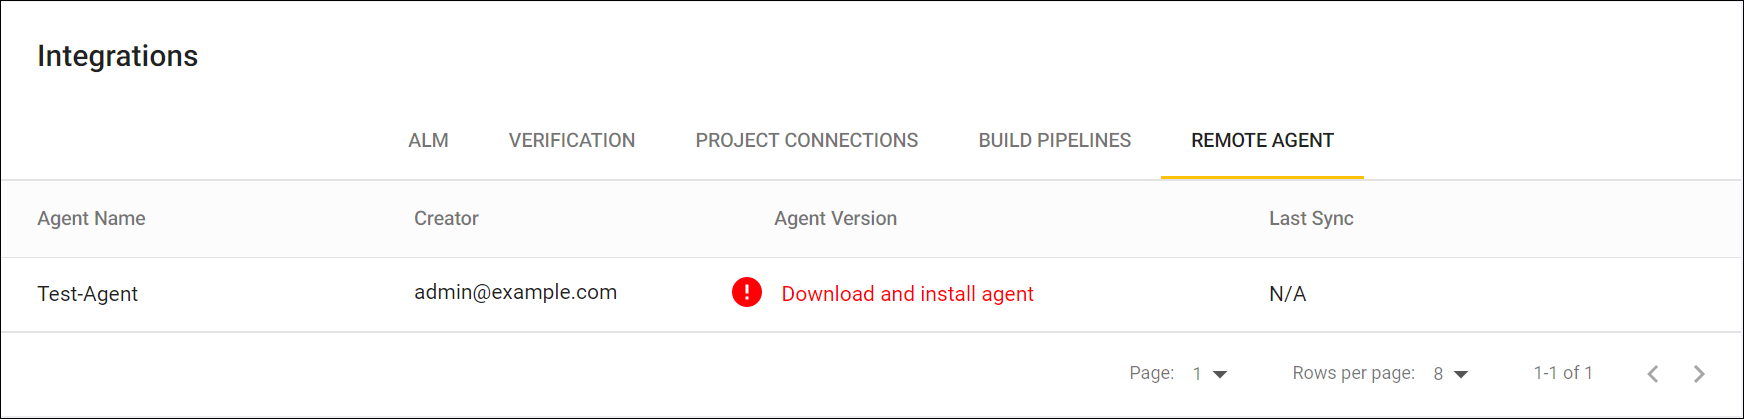
On a newly created Remote Agent, the Agent Version column will show Download and install agent.
-
Click on this warning for download instructions.
-
Only one Remote Agent can be created. Synchronization using multiple remote agents is currently unsupported. After the Remote Integration Agent syncs successfully, this field will show the actual version number, or a warning if the Remote Integration Agent software needs an update. You can permanently delete a Remote Agent by clicking on the delete icon on the right side.
Create a system connector for an integration
Use the following steps to create a connector to a specific integrations service, such as an ALM, verification, or LDAP.
Steps:
-
See Integrations for general instructions on creating connectors for specific services.
-
When setting up a connector to use the Remote Integration Agent, select the option: This ALM server is hosted within a private network and cannot be reached directly by SD Elements.
-
Create project connections, and set Sync Frequency to match the Remote Integration Agent’s scheduled syncs.
|
|
Manual integration is unavailable when a connector is marked as inaccessible. |
SD Elements is ready, but no synchronization jobs will run until the Remote Installation Agent is installed. The next section explains the installation.
Install the Remote Integration Agent
The Remote Integration Agent supports Windows or Linux systems.
Windows
The installer is available directly from the Remote Agents screen in SD Elements.
The remote integration process runs periodically using the Windows Task Scheduler.
Prerequisites
-
The installation must be run by a user with permission to schedule tasks.
Steps:
-
From the gear icon settings menu, select Integration, then select the Remote Agents tab.
-
Click on the link on the Remote Agents page to download the installer.
-
Run the installer and complete the installation using the wizard.
-
Configure the integration:
-
Click on the link on the Remote Agents page in SD Elements to download the installer.
-
Run the downloaded executable and the installation wizard will start.
-
If the Remote Integration Agent has been installed previously on this server, uncheck the box next to Generate Quickstart Configuration to use a previously created configuration.
-
If this is the first time the Remote Integration Agent has been installed on this server, check the box next to Generate Quickstart Configuration to generate a new configuration. The installation wizard will guide you through the configuration.
-
-
Once configured, the Remote Integration Agent installation will complete.
-
Enter the task scheduler password when prompted.
Once the Remote Integration Agent is installed, the synchronization jobs will run as scheduled.
Edit the configuration
If you make a mistake during installation, you may still edit the configuration file manually.
The configuration is in a text file called config.txt in the directory where the Remote Integration Agent was installed.
Linux
Contact SD Elements support (support@sdelements.com) with your version of SD Elements to add the Remote Integration Agent to your customer download account.
The Linux Remote Integration Agent is distributed as a set of wheel packages that are preferably installed in a Python Virtual Environment. This enables the Remote Integration Agent to be installed without modifying the system’s Python installation.
Prerequisites:
-
The
python-virtualenvpackage must be installed in order to create Python virtual environments. -
Access to
updates.sdelements.comusing customer account credentials is required in order to download the Remote Integration Agent.
Steps:
-
Create a virtual environment for running the Remote Integration Agent:
virtualenv ric-env
-
Activate the virtual environment:
source ric-env/bin/activate
-
Extract the Remote Integration Agent package and ensure it is accessible to the user running the Remote Integration Agent. Next, enter the extracted directory:
tar -xzvf remote-integration.tar.gz && cd sdetools
-
Get the Directory listing:
pwd
> /home/ricuser/sdetools
ls
> dist  sdetools-YOUR.VERSION.HERE-py2-none-any.whl
- Note the filename, "sdetools-YOUR.VERSION.HERE-py2-none-any.whl"
-
Install the wheel package using
pip:pip install --no-index --find-links=dist/ sdetools-YOUR.VERSION.HERE-py2-none-any.whl
-
While the Virtual Environment is activated, you can call the
sderic.pycommand:sderic.py help
Once the Remote Integration Agent is installed, the synchronization jobs will run as scheduled.