Project Classification
Table of Contents
- How the Project Survey affects Project Classifications
- How Risk Policies affect Project Classification
- Project Classification details
- Ordering Project Classifications
- Edit a Project Classification in Basic Mode
- Toggle Project Classification to use Advanced Classifications
- Creating Factors
- Edit or Delete a Factor
- Project Classifications Formulas
- How Project Classification affects Global Reports
Project Classifications assign your project with a level of risk based on how you answer the project survey. Classifications can help you categorize your project by its potential risk. For instance, the type of information your application collects largely determines the risk it poses to your organization, where health, financial, and personally identifiable information are classified as high risk.
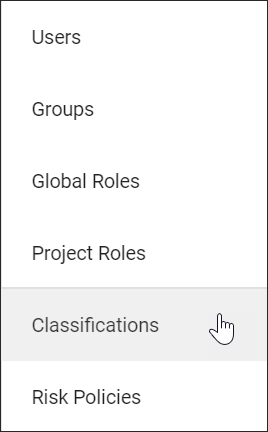
You can access the Project Classification screen from the Manage menu:
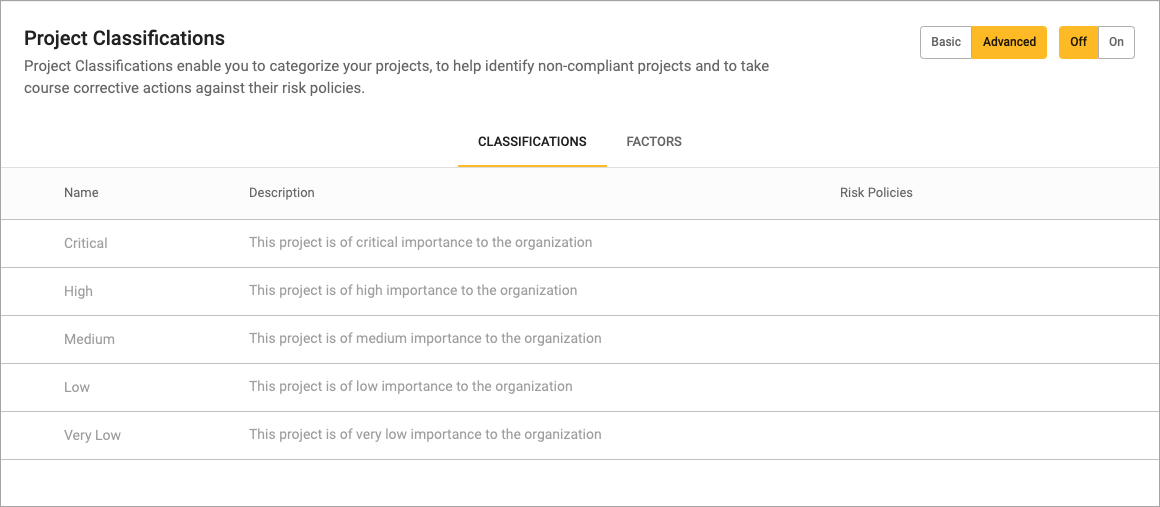
Project Classifications come with 5 levels of risk, however you can add more classifications through the UI:
| Any projects that do not fit into the out of the box classifications or custom project classifications will be unclassified. |
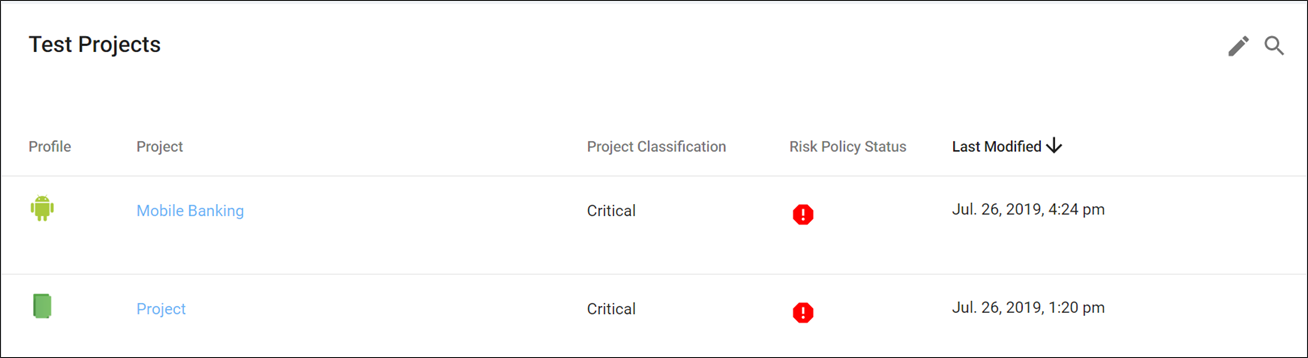
Project Classification assigns your project a level that is associated with a risk profile. This can help you track compliance and completion by low, medium, and high risk projects to more quickly take action on projects that are not meeting the baseline compliance of their risk policies.
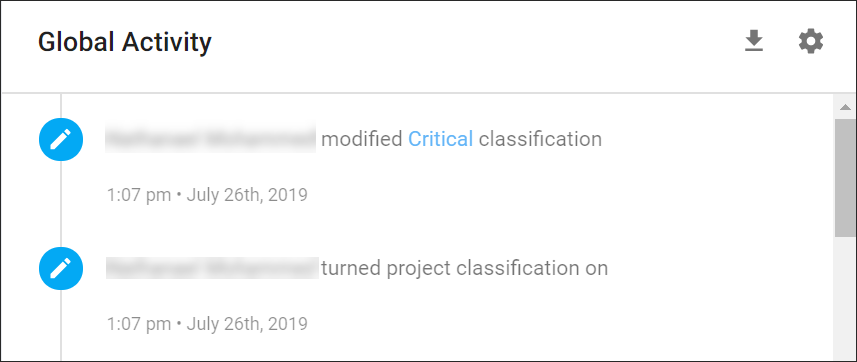
Project Classification activities are reflected in the following ways on the SD Elements Dashboard, Project list, and in global reports:
Project Overview

Project list
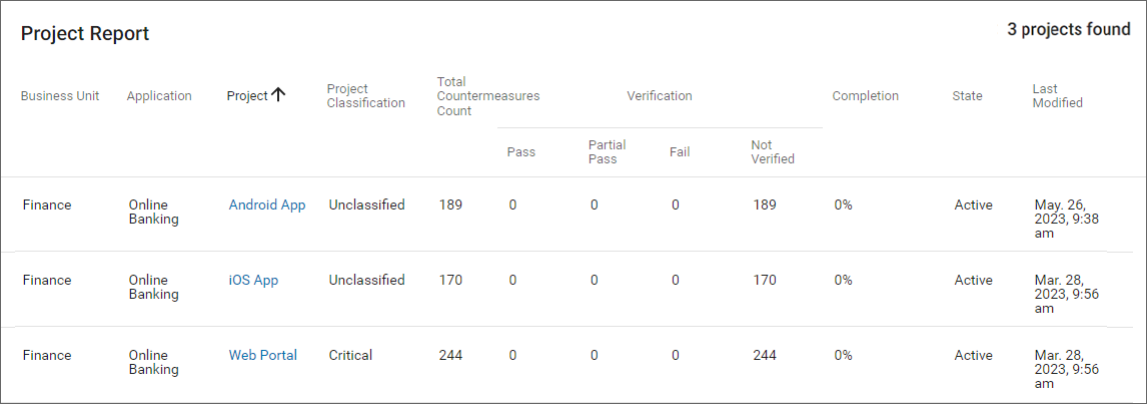
Global Reports

How the Project Survey affects Project Classifications
Completing the Project Survey assigns your project with the highest Classification based on the Answers selected in the survey.
Classifications are sorted by most critical to least critical. This ordering allows you to identify the critical level of customized Classification names at a glance.
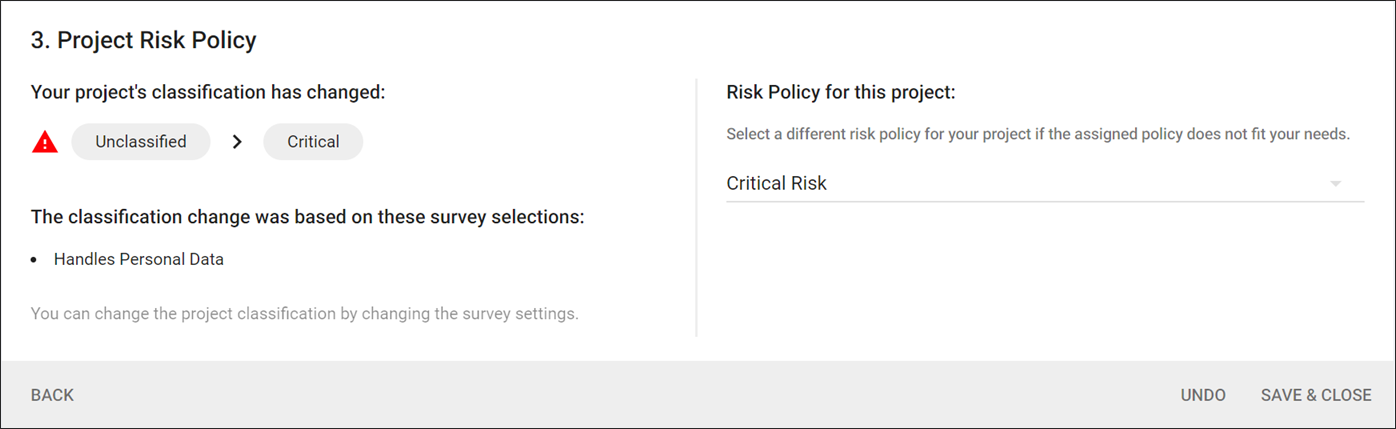
If a Project is matched with the same Classification it had prior to answering the Survey or updating its Profile, its Risk Policy is unchanged. However, if a Project receives a new Classification after answering the Survey or updating the Profile, it will be assigned the Default Risk Policy for the new Classification even if the Project’s previous Risk Policy is still valid for the new Classification. You can manually update the Risk Policy later to any Risk Policy valid for the Project’s Classification.
If a Project becomes unclassified, it is assigned the Default Risk Policy for the Project’s Business Unit. You can manually update this Risk Policy later to any available policy in your Business Unit.
Project Classifications can function as a matching rule that pairs relevant Countermeasures with a particular risk classification. The rules associated with each classification also allow Project Survey answers to be automatically answered if the classification of a project changes.
How Risk Policies affect Project Classification
Deleting a Risk Policy will impact Classifications and Projects that use the Risk Policy. If you delete a Risk Policy that is a Classification default or a Business Unit default, you must choose a replacement default that is applied to all affected Classifications and Business Units.
Otherwise, Projects with the Risk Policy you delete will fall back to the Default policy of the classification. All unclassified Projects fall back to the Default policy of their Business Units.
Project Classification details
-
Name: The name of the Classification level. SD Elements provides default names for each level that you can customize.
-
Description: The description of the Classification level and the risk associated with it.
-
Classification Rules: The Project Survey answers that determine your project’s Classification while in Basic mode.
-
Classification Risk Policies: A default Risk Policy associated with this Project Classification. You may assign multiple policies to each Classification.
-
Factor: A collection of survey questions with attached numeric scores and an aggregate function for use in Project Classifications Formulas while in Advanced mode.
-
Project Classifications Formula: A formula containing factors and operations that result in a boolean expression (true or false) used in Advanced mode project classifications.
Ordering Project Classifications
Project classifications are applied to projects in the order in which they appear in the UI, the first applicable project classification will be applied to a project.
To change the order of the project classifications, use the Project Classification API to reorder them.
Edit a Project Classification in Basic Mode
SD Elements comes with default levels of classification. You can modify these levels by selecting the answers and risk policies that suit your needs.
A Project Classification must be assigned both rules and a Risk Policy. Once you complete and save the Project Survey, your project will then be assigned a classification.
Prerequisites:
-
Users require the permission Global Roles → Administration → Manage project classifications and risk policies.
Steps:
-
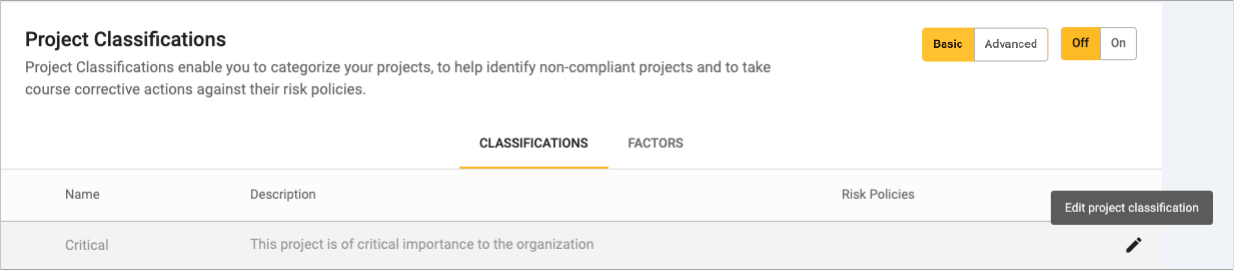
From the Manage menu, select Classifications.
-
Hover your cursor over the Classification you would like to edit, and select the edit icon.
-
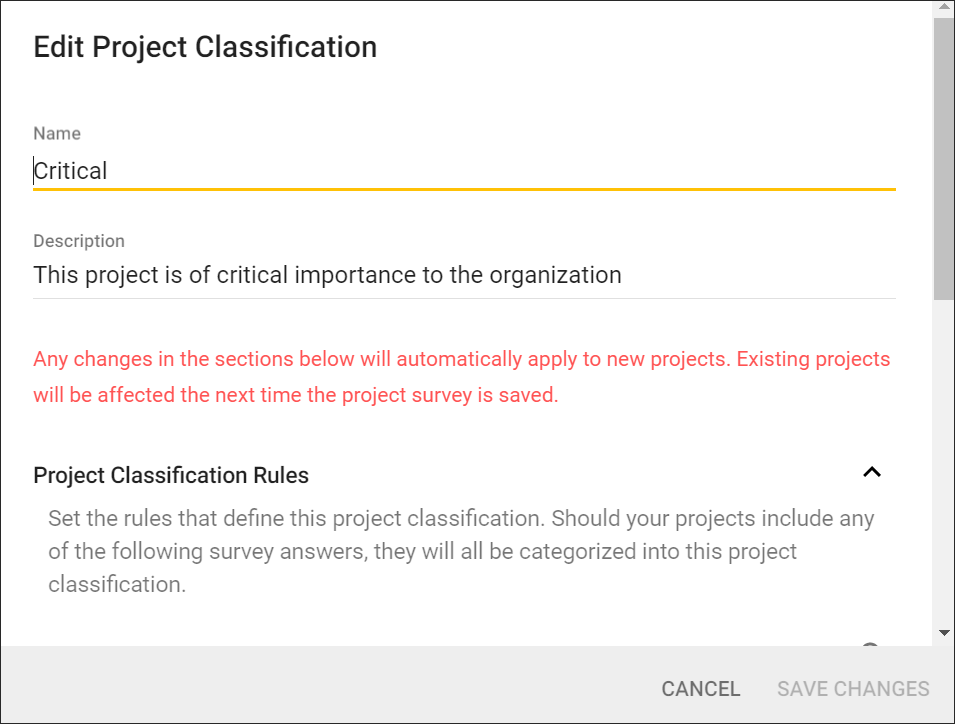
Enter in the details of the Classification.
-
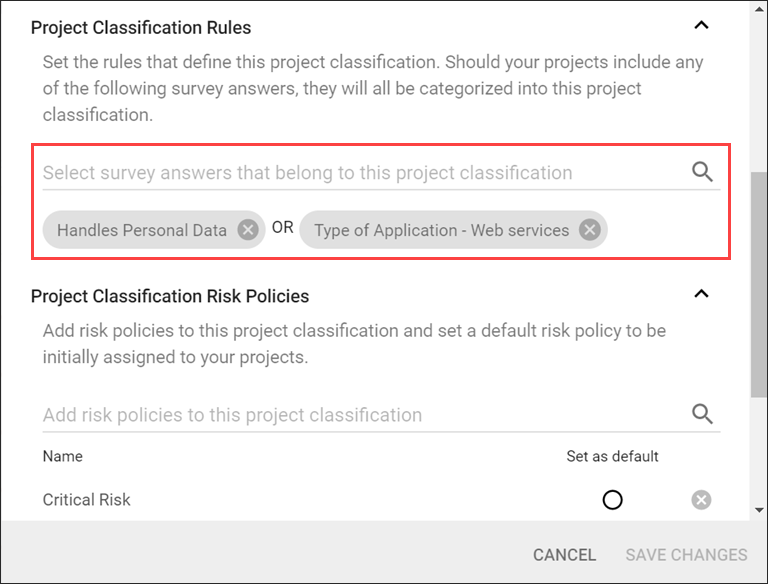
Under Project Classification Rules, select the Project Survey rules that will determine how your project is classified.
-
In this example, a project is classified as Critical when it handles personal data or is a web service.
-
-
Click Save Changes.
The details of the Classification are updated. You may only select a default Risk Policy from a list of valid policies.
| New changes to a Classification will only be applied to new projects. Existing projects with the Classification you modify will not be affected until the next time you save the Project Survey. |
Toggle Project Classification to use Advanced Classifications
Advanced classification mode enables you to implement a customized methodology for determining how a project will be classified.
Prerequisites:
-
Users require the permission Global Roles → Administration → Manage project classifications and risk policies.
-
Advanced mode has been activated.
Steps:
-
From the Manage menu, select Classifications.
-
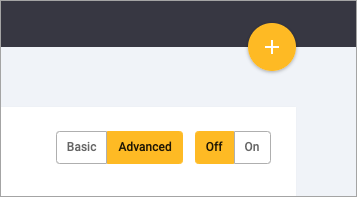
In the upper right-hand corner, click on the toggle labeled Advanced.

You can click on the toggle labeled Basic to switch back to Basic mode at any time. Switching back to Basic mode will not erase any of the Advanced settings you have created while in Advanced mode.
Creating Factors
In Advanced mode, you have the option of creating Factors and Project Classifications Formulas. A Factor contains possible answers a user might select when answering a question in the survey. After the survey is filled out and saved, if an answer is selected that corresponds with an answer used in a factor, its score is included in the function for calculating the value of that factor.
| If an answer has been deactivated or deleted from the Survey, it can be used in a Factor. However, Because it is not possible to select that answer, its score will not be used towards the final value of the Factor. |
Prerequisites:
-
Users require the permission Global Roles → Administration → Manage project classifications and risk policies.
-
Advanced mode has been activated.
Steps:
-
Click on the Factors tab.

-
In the upper right hand corner of the screen, click on the yellow button to open up the New Factor form.
-
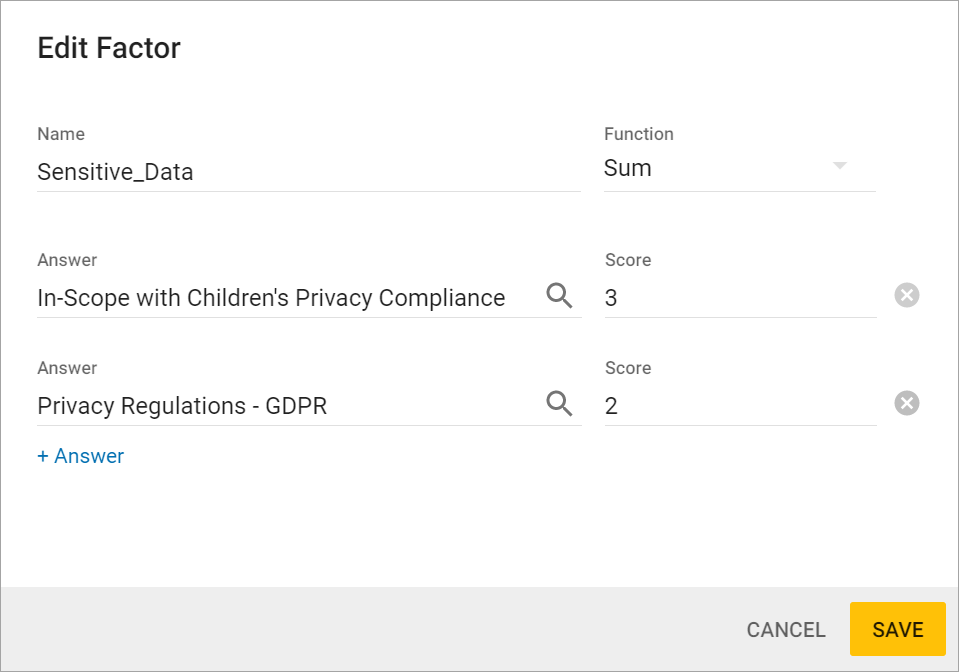
Name this factor.
The name of the factor is a unique identifier within an organization that should be descriptive. Names must start with an alphabetic character. For the rest of the name, numbers and underscores (“_”) are all valid. For example, “my_risk” is a valid factor name, but “_myRisk” is not. Names are also case sensitive, so “Risky” and “risky” are not identical. -
Select a Function from the dropdown menu. Each factor has a single aggregate function that can be applied to the scores from each answer. The available functions are Maximum, Minimum, Sum, and Average.
-
Select at least one answer. The answer field auto-completes as you type allowing you to search through available answers.
-
Additional answers can be added to a factor by clicking the blue + Answer link.
-
Provide a score for each answer. The score is an integer value that is entered into the function you have selected for this factor if this answer is selected on the survey.
-
When all required fields have been filled out, the Create Factor button at the bottom of the form will become yellow. Click this button to complete the creation of this factor.
Edit or Delete a Factor
You are able to edit or delete Factors that you have previously created.
Prerequisites:
-
Users require the permission Global Roles → Administration → Manage project classifications and risk policies.
-
Advanced mode has been activated.
Steps:
-
On the project Classifications page, click on the Factors tab.
-
To edit a factor, hover over the row that contains the name of the factor you wish to edit, and click on the edit icon .

-
This opens the Edit Factor form.
-
Click the yellow Save button to save your changes.
-
If you wish to delete a factor, hover over the row that contains the name of the factor you wish to edit and click on the trash icon.

| You will not be able to delete a Factor that is currently being used in a Project Classifications Formulas. If this happens, update your Project Classifications Formulas to use a different Factor and try again. |
Project Classifications Formulas
When in Advanced mode, you have the option of using Project Classifications Formulas to determine how a project will be classified. A Factor Expression is a combination of existing and valid Factors, and must be an expression that evaluates to true or false. While the advanced classification feature is active, each time a user saves a project’s survey, the project will be classified using the first classification whose Factor Expression evaluates to true (in order from Critical to Very Low).
Prerequisites:
-
Users require the permission Global Roles → Administration → Manage project classifications and risk policies.
-
Advanced mode has been activated.
Steps:
-
Navigate to the Project Classifications page and click on the Classifications tab.
-
Choose a classification level you wish to customize, such as Critical, High, Medium, Low or Very Low. Hover over the row of the classification level you have chosen and click the icon that appears to the right.

-
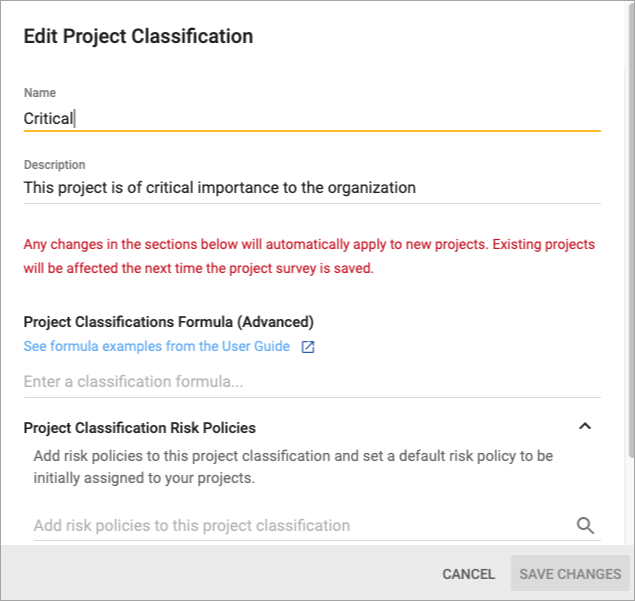
The Edit Project Classification window opens.
-
Under the title Project Classifications Formula (Advanced), you can create a custom formula using the Factors you’ve created to identify criteria for a project to receive the classification level that you are editing.
-
Project Classification Formulas can use only those factors that have already been created. See the chart below for a list of available functions and operations in Project Classifications Formulas.
Examples of valid classification expressions, where “FactorA”, “FactorB”, and “FactorC” are valid factors:
-
2*FactorA + 5 == 9
-
max(2*FactorA, 5) > 5
-
min(FactorA, FactorB, FactorC) < 5
-
min(FactorA, FactorB, FactorC) + max(2, FactorA) != 5
Project Classifications Formulas should be a boolean expression that evaluates to true or false. Available functions and operations for use in Project Classifications Formulas:
Function Description Max
Maximum
Min
Minimum
+
Addition
-
Subtraction
/
Division
*
Multiplication
>
Greater than
<
Less than
==
Equal to
>=
Greater than or equal to
⇐
Less than or equal to
!=
Not equal to
and
Both must be true to be evaluated to true
or
One or both must be true to be evaluated to true
sqrt
Square root
abs
Absolute value
ceil
Ceiling
floor
Floor
round
Round to the nearest integer
^
Exponent
-
How Project Classification affects Global Reports
Project Classification is reflected in reports you generate.
Prerequisites:
-
The user has the permission Global role → Administration → View all projects.
Steps:
-
Under the Reporting menu, select Global Reports.
-
Click the Add New Report button in the top right (My Report)
-
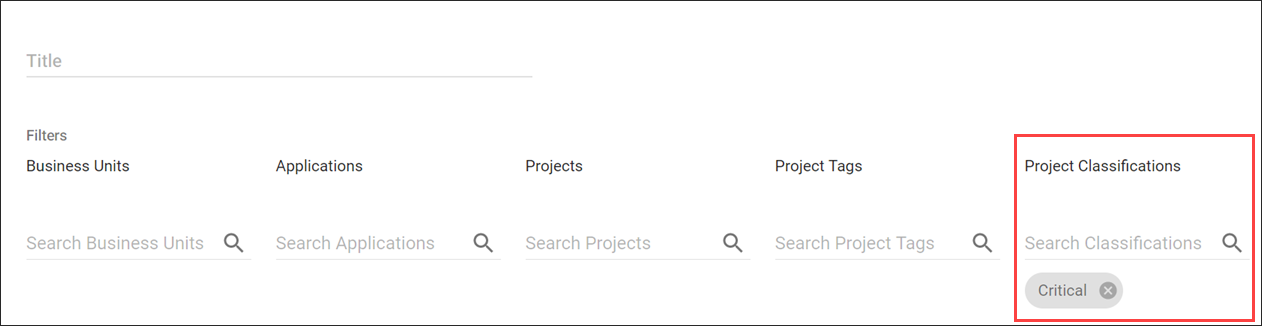
Global Reports have a new Classifications filter.
-
You can also sort reports by classification level.
