Connected Components
Table of Contents
Create components automatically by modelling them from existing projects. Automatically populate the details of your component by carrying over the details of your project, such as Countermeasures and Countermeasure statuses.
Create a connected component
Create a new component from an existing project by using the following instructions. You can only create a single component from a project or release.
| You can only create one component from a project. Delete previous |
Prerequisites:
-
The user has the permission: Project Roles → Project Management → Edit project survey.
Steps:
-
Navigate to the project from which you would like to create a connected component.
-
Select the Overview tab.
-
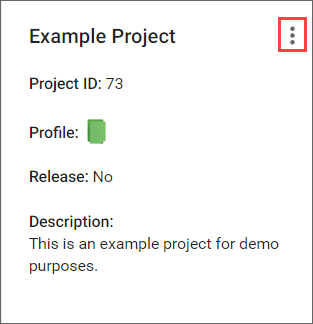
Click the icon for more options (vertical ellipsis) on your project’s widget.
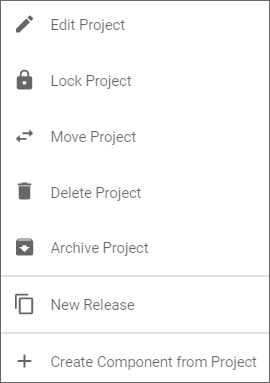
-
Select Create Component from Project. A New Component dialog opens.
-
Select a survey answer mapping.
-
Make other modifications as required for your new component.
-
Change the name of the component or the status of a Countermeasure.
-
-
Click on Create and acknowledge the warning by clicking on Create Component.
| You cannot add new Countermeasures to a Connected Component. Add the Countermeasure to the project and then create a component from it. TIP: You cannot edit a connected component from a project. It can only be edited from the Library or from a content administrator. |
Your component is created using the information carried over from the project and the details you modified.
View a connected component
Navigate to a view-only mode with the details of your Connected Component.
Steps:
-
Navigate to the project from which a Connected Component was created.
-
Select the Overview tab.
-
Click the icon for more options (vertical ellipsis) on your project’s widget.
-
Select View Component from Project.
A dialog opens with the details of your Connected Component.
Approval overflow
Connected Components are created in a deactivated state in order to avoid overcrowding the components list. Use the approval overflow to activate components before they can be used.
Prerequisites:
-
The user has the permission: Global Roles → Customization → Customize content.
Steps:
-
Navigate to the project from which you would like to create a connected component.
-
Select the Components tab.
-
Select a component to enable.
-
You can enable a component linked to a deactivated survey answer by clicking Activate Answer before toggling the component on.
-